Saturday, July 31, 2010

MORNING BLISS

Sometimes the little things in life are what matter most. For me, breakfast sausage is one of those little things. I ordained my sausage stuffer by filling it with ground pork, sage, garlic, and ginger, and creating 3 feet of pure joy. It was a huge success, and I am now hopelessly hooked on homemade breakfast meats. I used the recipe for breakfast sausage in the book, "Charcuterie." It was just right, except that I overdid the salt a little tiny bit. The recipe was for 5 pounds of meat, and I used 2 pounds 4 ounces. I just halved the recipe instead of figuring out the exact proportions, which is probably why the salt was a bit heavy.

Here's my 2.25 pounds of diced pork butt, fresh from the freezer. Sage, Garlic, Ginger, Salt, Pepper, and Chile di Arbol were minced together and added to the pork...
Here's the whole setup: kitchenaid mixer with paddle attachment, meat grinder, sausage stuffer, frozen bowl, and ice cold meat...
Once the meat was ground and mixed, it took less than five minutes to stuff it into the casings with my new sausage stuffer... It was like a meat fountain.... amazing!!! The new tool really makes the whole sausage making ordeal quick and easy, removing the most tedious part of the process.....
I cooked the sausages very gently with a little bit of water in the pan...
Once they were cooked through, I cranked up the heat and gave my little babies a nice tan...
And here they are... moist, tender, flavorful.... a breakfast sausage like none I've ever had before...

Notes for next time? Less salt, more Chile di Arbol.... I used 1/2 tsp in this recipe, and would bump it up to 3/4 next time... the chile gives a nice slow, back of the throat heat that is just perfect in the morning....

I challenge anyone to come up with a better way to start a weekend... It's just not possible as far as I'm concerned.

Saturday, July 17, 2010

WORM PROBLEM

So, If you read my post about sausage, you might have noticed that I was less than pleased with the kitchenaid sausage stuffer attachment.

The reason that I don't like using the meat grinder for stuffing is that it uses a worm gear (A) to move the meat through the device.
If you're grinding larger, slightly frozen chunks of meat, this is perfect, but when it comes to the soft, delicate sausage meat that we want to stuff in a casing, it runs into trouble. Because the meat is so smooshy, it compresses, and when you try to push it into the worm gear, it doesn't get grabbed and moved along like a chunk of meat would.  It gets smashed and sticks and fights back in pretty much every way it possibly can. In addition, the meat I was so careful to grind just right gets smeared inside the gear, all along both interior surfaces. This is not good. It is a pain in the butt, and kinda takes the fun out of sausage making, turning it into a holiday activity that is only done every other year or so.

That's why I decided to buy this beauty... a vertical sausage stuffer.
I want to look at sausage making as something fun and exciting, and not as a chore. I'd rather focus on flavor and quality than fiddle with the whole worm gear meat smashy business. With this stuffer, you pack all the meat into the cylinder (up to five pounds for the model I ordered), you put a plate on top, and you turn the handle. Just like that, the meat comes out the tube at the bottom. I like this because it is simple. It's like a super soaker made for meat! The steady pressure won't smear and smash the fragile meat mixtures, and you get a constant, even stream of sausage.

I know this thing is a little bit overkill, and will probably never pay for itself, but it makes up for all that in awesome. It is also one of several key pieces to accomplishing my goal of making a salami from scratch. The next piece of the puzzle is a curing chamber with temperature and humidity control... more about that another day... in the meantime, I need to hone my skills on some fresh and smoked sausages...

Sunday, July 11, 2010

PUTTING THE "HAM" IN HAMBURGER

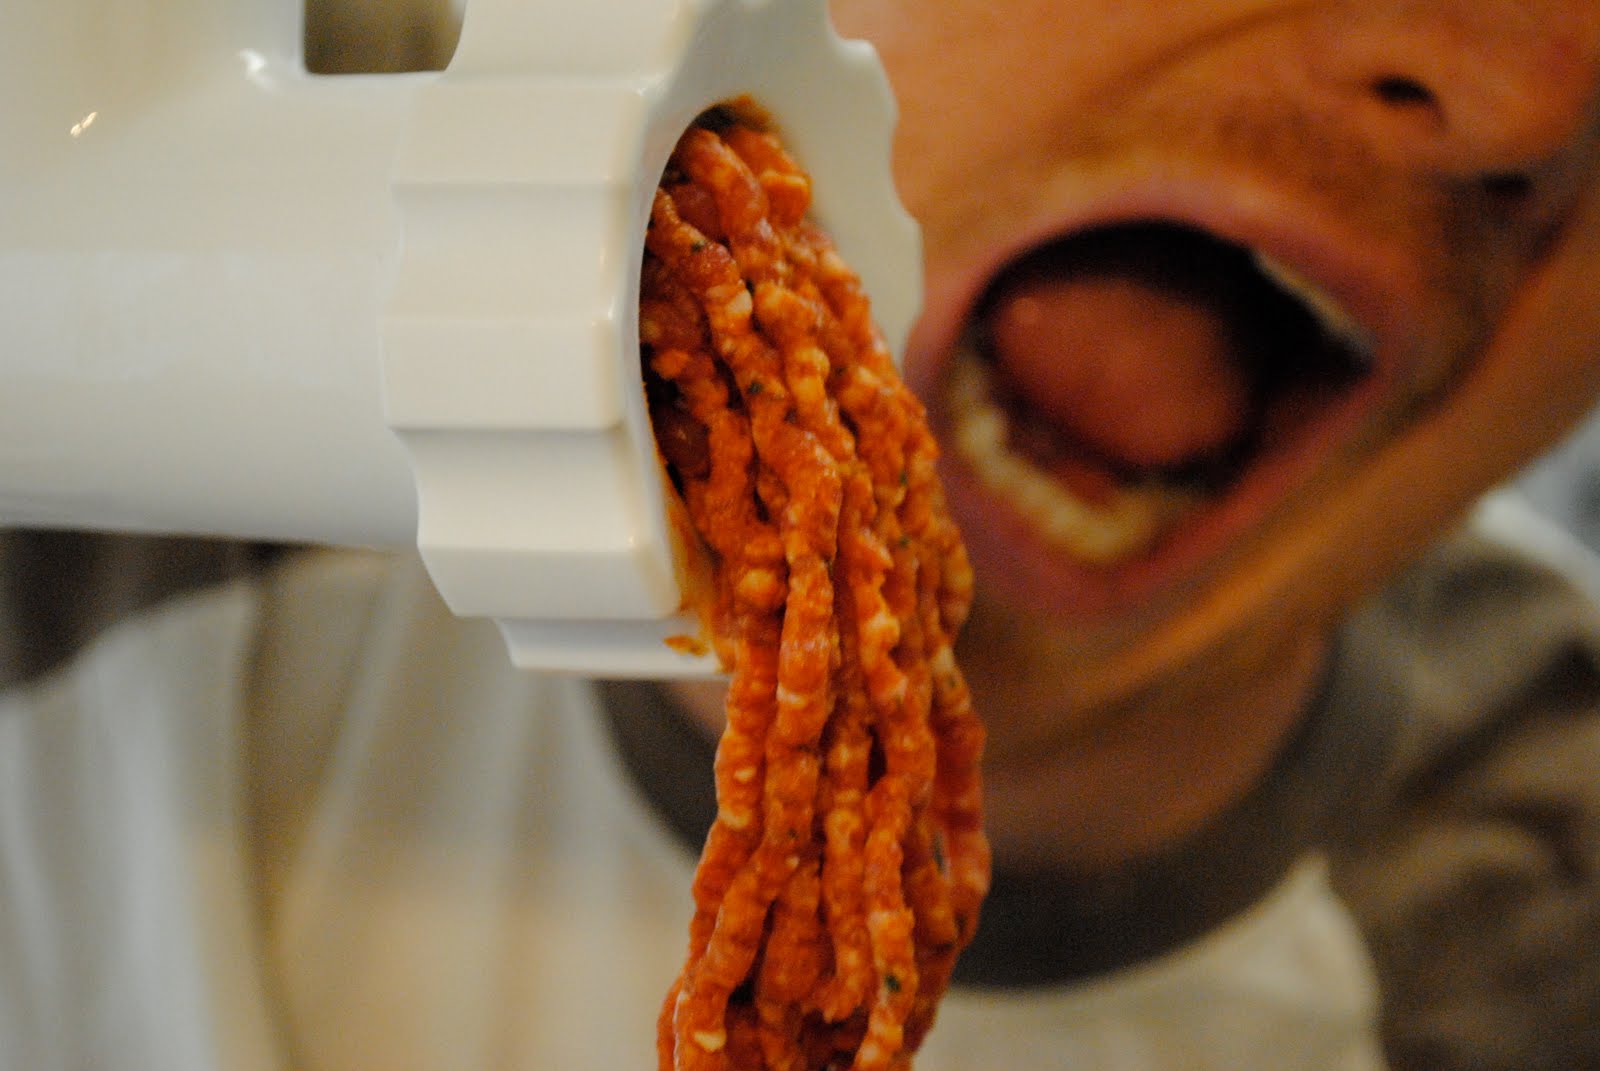
Why's it called a hamburger if there's no ham in it? Today, we had some family coming over, so we decided to make a hamburger that actually had something to do with ham. I chose to grind the meat myself to make sure it was exactly what I wanted. The pink ground meat at the store has all the fat smeared into it, and just can't compete with properly ground, fresh meat. When the store ground meat is cooked, all the fat drips right out of it, but home ground meat retains its moisture because the fat is in tiny chunks that can hold on.

I used about 5.25 pounds of chuck roast to 1.25 pounds of pork shoulder, along with 3 Tbls Seasoned Salt, 2 Tbls Worcestershire Sauce, and 2 Tbls Fresh garlic.

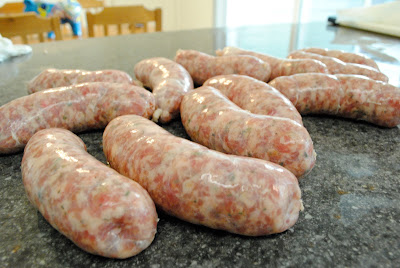
I diced all the meat, mixed in the seasonings, and put it in the freezer for two hours to firm up for grinding. The time in the freezer is essential because it allows the grinder to cut the meat, rather than smash and tear it. After grinding, I mixed the meat a bit with the paddle attachment of my mixer, divided it into 1/2 pound balls, and got to patty making.

I broke each ball in half, folded a slice of american cheese (no other cheese can achieve quite the same liquidy texture as good old american), and sandwiched it inside the middle of each patty.
Here they are completed, with their secret cargoes of cheese...
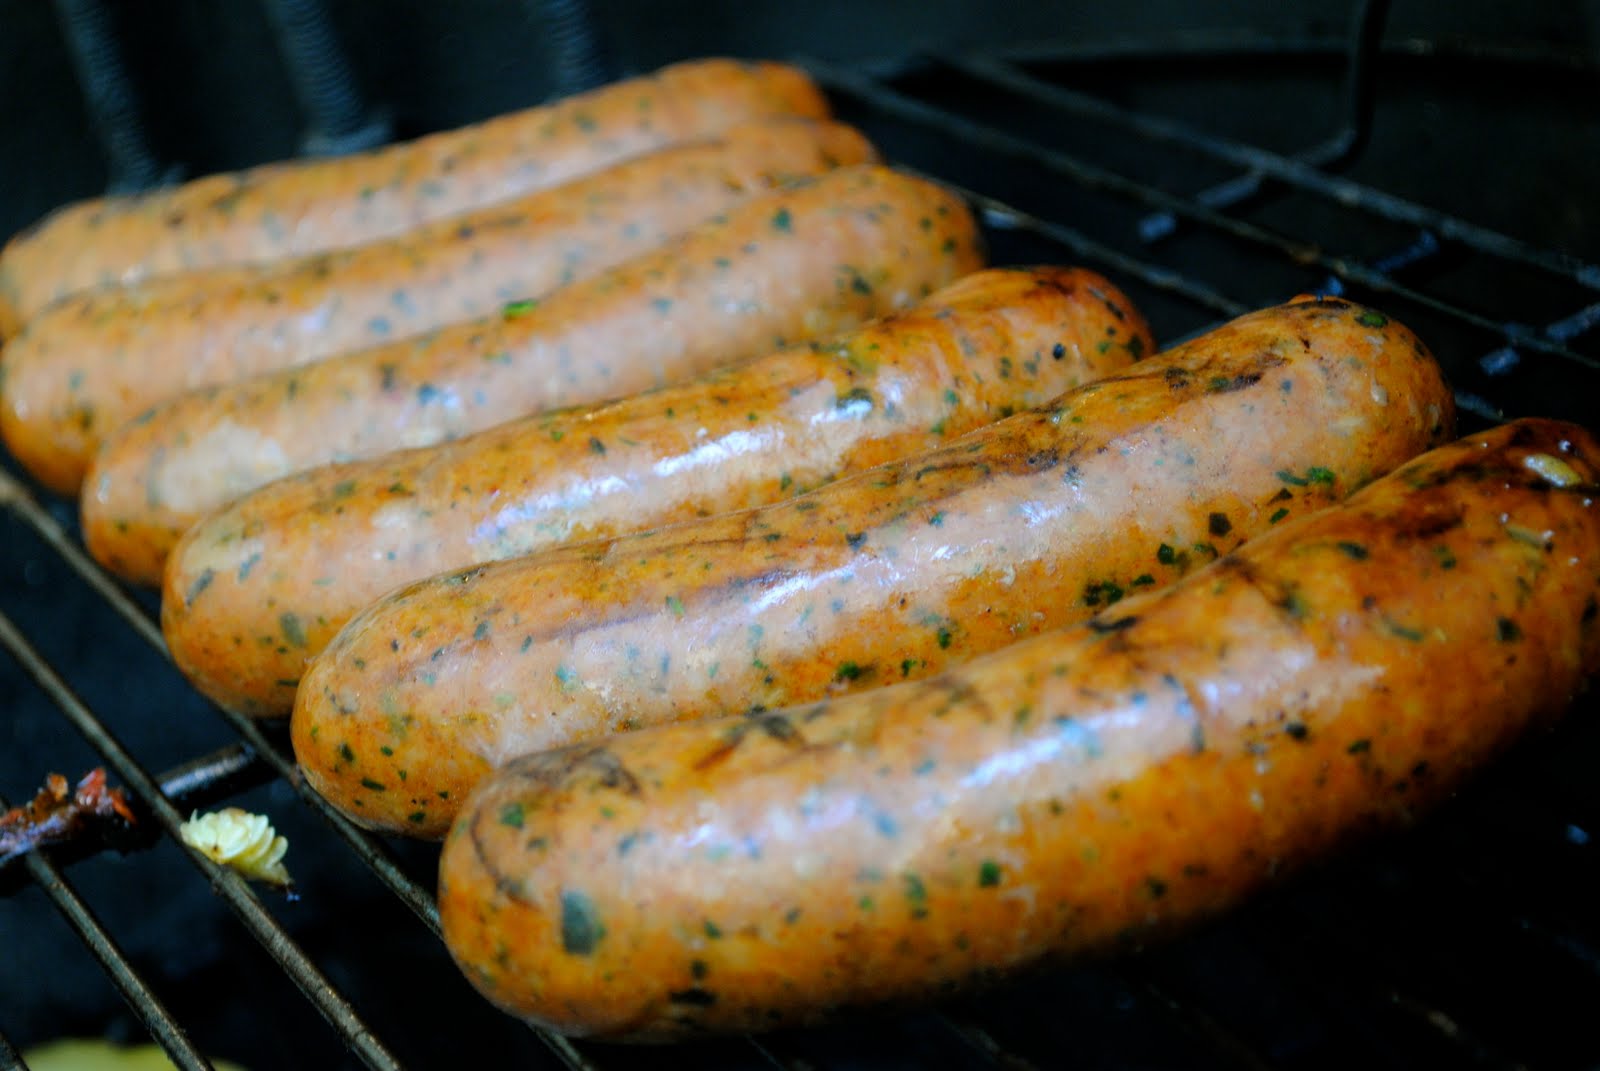
Then, it was off to the barbecue to cook over medium indirect heat for around 30 minutes. These burgers were so thick that, had I cooked them over the coals, they would have burned on the outside, but been raw in the center. I moved the patties around carefully to make sure that they all got the right amount of heat and browning.

Here are the hammies right after being flipped. As the cheese in the center of each patty begins to melt, it liquifies, seeps through every nook and cranny of the meat, and comes oozing out like lava from heaven.
I topped the patties with more cheese and cooked them to a final temperature of about 160F.
We served the patties with bacon, avocado, and all the usual fixuns...
I think these were the best burger patties I have ever made. I'm definitely a fan of the porky hamburger, and will not be going back to the all beef patty if I have any choice in the matter. The meat just had a great flavor to it that you can't get with beef alone. 

The only thing I would change is the cheese. I thought that american would be perfect since it would liquefy so well, which it did, but something about american cheese with such a premium patty was not quite right. These things deserve a higher class of cheese... possibly something a little milder that will give some nice creaminess, but not mask the taste of the meat too much. .. maybe a gouda or a brie? Anyhew, the american was delicious in its own way, and I have no regrets.

These patties were a hit, and I plan on fine tuning them a bit, but I think I've finally got the burger I've been looking for... all I needed to do was put back the ham.


Sunday, July 4, 2010

UBERLINK

Sausage happened today, and it was no accident. I've never made sausage before, so I recruited an extra set of hands for the project. If you plan on making some sausage of your own, I highly recommend getting a little help. With beginner's equipment, sausage making alone would be next to impossible.

I chose to make Roasted Poblano Sausage for my first attempt.... Here is how it went...

The day before, I diced four pounds of pork butt, and added the spices. We used oregano, cumin, fresh garlic, salt, paprika, new mexico, and chipotle chile powders....
Mix it all up real well...

This next part is critical... before grinding, the meat should be partially frozen. I put the chunks into the freezer for about an hour and a half, and it was just right. This will ensure that you are cutting your meat, rather than tearing it. It is important to cut the meat and to keep everything ice cold if you want a good texture... Grind the meat into a bowl set in ice..... and resist the temptation to eat it then and there.
Once the meat was ground, we added diced roasted poblano peppers, cilantro, and ice water. The whole mixture got mixed by the kitchenaid paddle attachment until it was sticky enough to bind together. This is where some fun came in... we fried a few bits of sausage to check for seasoning, and it was delicious! 

All this time, the hog casings were soaking in lukewarm water. We rinsed them very well, then slid one onto the kitchenaid stuffer attachment, tied a knot in the end and got stuffing. I have to note here that the kitchenaid sausage stuffer is a piece of garbage. The grinder is great, but for anything more than extremely occasional use, the stuffer is a real chore. This is where the help of my awesome assistant/photographer came in. With Mercurystate's help feeding the meat into the stuffer, and over an hour of back and forth tugging, we managed to create this beautiful work of porky art...
Which we then twisted into links....
smoked over indirect heat....
and crisped over hot coals...

CLICK ME, CLICK ME!!!!
Notes for next time? Buy a real sausage stuffer, make sure the sausages are extra spicy, and prick each link so that they don't explode on the grill. Other than that, these things were a huge success. The texture was excellent, the casings had a nice snap to them, and the flavor was just right.... even my wife, who has a long-standing feud with stuffed sausages, had to admit that these babies were "taaaastaay."

I definitely have a new favorite pasttime to add to my collection.

Friday, July 2, 2010

SUMMER PIE

Well, it turns out that, thanks to the pioneer woman, the easiest dessert you could possibly make is a blueberry pie. I have never made a blueberry pie before, and was totally and completely shocked by how simple and delicious it can be. You can make it more complicated if you want to make your own crust, but in this case, I needed a quick dessert, and didn't want to put in the effort to make a crust from scratch, so I just bought one at the grocery store.

To make the pie, you put the bottom crust in a pie pan and toss 2-3 pints of blueberries with as much sugar as you like and 2-3 Tablespoons of flour. Pour the blueberries into the bottom crust, add a few pats of butter and the top crust. Make some vent holes in the top crust, and bake for 45 minutes or so at 400F.... and voila... like magic, you have one of these....


Next time, I think I'm going to add a little lemon juice and zest to brighten the flavors up a bit more... but all in all, the work to deliciousness ratio of this pie is sky high!

Thursday, July 1, 2010

HELLO NORDELLO

Thanks to my Aunt, a global bucket, and a whole lot of stinky fish heads, I finally was able to cook an entire side dish from something I grew myself! When I checked my Nordello pepper plants the other day, I found seven giant peppers, and decided it was time to go for it.

I picked the peppers....
Sauteed them with a little oil, salt, and garlic...
And took that first glorious bite of self sufficient deliciousness
The peppers were sweet with a buttery, silky texture, and were well worth the wait. With all the anticipation and waiting, I feared they would be a let down, but these peppers were far from it.

I'm still waiting for the day I can make an entire meal from vegetables I grew, but this will do quite nicely until then...